
Framingham Wood Flooring has spent more than 20 years on wood floor refinishing in Framingham, MA, serving surrounding cities including Cochituate, Marlborough, Hopkinton, Wellesley and Maynard. We sand floors to bare wood, repair what needs repair, test stain colors on your own boards and apply finishes that meet Massachusetts limits for wood coatings. The result is a floor that looks new without the cost of replacing it.
Most refinishing jobs we see are oak strip floors from the middle of the last century, worn through in traffic lanes, dulled by years of cleaners, or turned orange by an old oil finish. Others are floors uncovered when carpet comes out, or pine in an older house that needs a gentler hand. Each one gets a plan built around what the wood can take and what you want it to look like.
Before we quote, we look at the floor itself: how much wood is left, what coating is on it now, and whether any boards need replacing first. That inspection is what keeps the price honest and prevents the most common refinishing failures, from sanding through a thin floor to laying fresh finish over wax that will not let it bond.
Reading the Floor Before It Is Sanded
How Much Wood Is Left Above the Tongue
A tongue and groove floor can only be sanded down to the top of the tongue before the boards start to split and expose nails. Every previous sanding removed some of that wood, and aggressive sanders in past decades sometimes removed a lot.
We check the thickness at a floor register or threshold before any machine is started. If there is plenty, we plan a normal grit sequence; if it is thin, we adjust the cut or tell you plainly that a screen and recoat is the safer choice.
Red Oak, White Oak, Maple and Pine
Species decides how a floor sands and how it takes stain. Red oak has open grain that absorbs stain evenly, white oak runs cooler and grayer, and maple is so dense and tight-grained that dark stains often go blotchy on it.
Eastern white pine in older houses is soft and dents under a drum sander that is set too aggressively. We identify the species before choosing machines, grits and colors, so the plan fits the wood you actually have rather than a generic oak floor.
Wax, Cleaners and Old Coatings
Floors that were waxed, or cleaned for years with oil soaps and polish products, can keep residue that stops new finish from bonding. A full sanding removes it, but a recoat over it will peel, sometimes within weeks.
Painted floors and painted stair risers raise a separate question in houses built before 1978, where Massachusetts lead-safe renovation rules can apply. We check the build year and test or presume lead where the rules call for it, before the first pass of the sander.
Sanding, Repairs and Dust Control
The Grit Sequence and the Machines
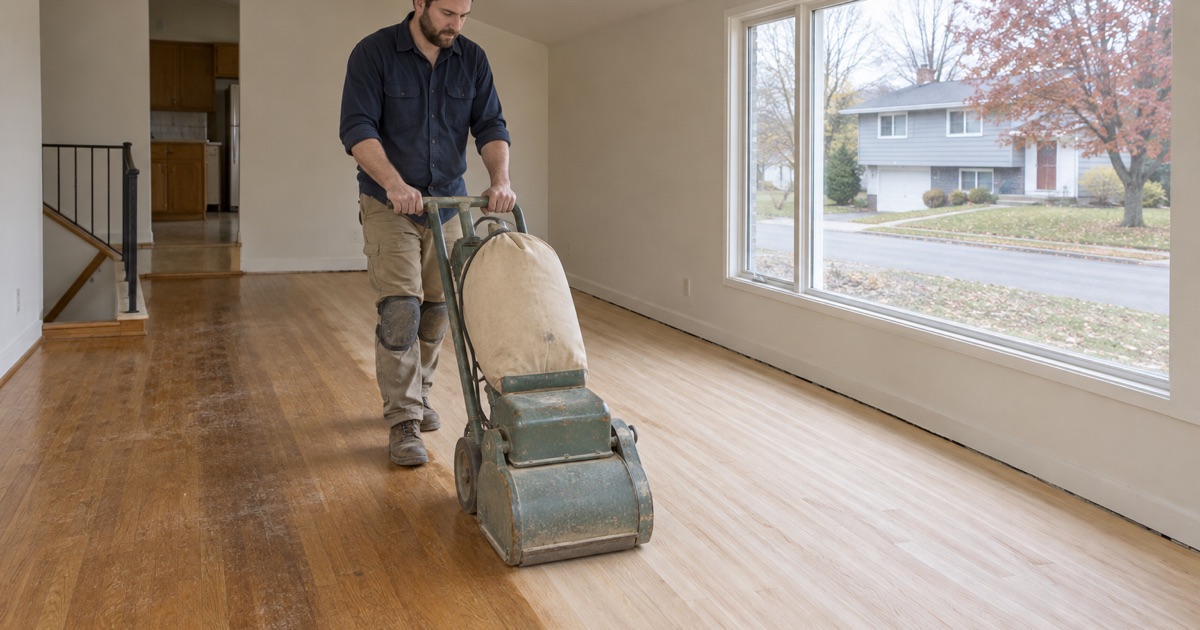
A drum sander does the main field of the floor, an edger reaches the walls, and an orbital sander or buffer blends the two so edge marks do not show. Each pass steps up to a finer grit, and skipping a step leaves scratches that stain later exposes.
We choose the starting grit by how much finish and wear must come off, not by habit. A floor with a thin finish and light wear starts finer, which saves wood for the next refinishing in twenty years.
Dustless Sanding With HEPA Collection
Our sanders run connected to HEPA vacuum collection, which captures most of the dust at the drum and edger instead of letting it drift through the house. We seal doorways, cover returns and keep the work area closed.
No sanding process is truly dust-free, and we will not promise that. What dust control does is keep the rest of the house livable during the job, which is why most families stay home through a refinish.
Board Replacement and Filler Before the Finish
Cracked, rotted or deeply stained boards come out before sanding and are replaced with matching wood woven into the floor. Nail holes, small cracks and staple holes are filled with wood filler tinted to the finished color.
We leave seasonal winter gaps alone unless they stay open all year, because filler packed into a gap that closes in summer cracks and pops out. Deciding which gaps to fill is part of reading the floor.
Stain, Finish and Sheen
Stain Samples on Your Own Boards
We never choose a color from a brochure. After sanding, we put several stain samples directly on your floor, in daylight, so you see how each one looks on your wood and in your rooms.
Where a deeper or more even color is wanted, water popping raises the grain slightly before staining so it absorbs more uniformly. It is especially useful on white oak and on floors headed for a dark tone.
Waterborne, Oil-Modified and Hardwax Oil
Waterborne polyurethane dries clear, cures quickly and does not amber, so it keeps a natural or gray tone. Oil-modified polyurethane gives oak a warmer color that deepens over time, and hardwax oil soaks into the wood for a low-sheen look that can be spot-repaired.
Every product we use is chosen to meet 310 CMR 7.25, the Massachusetts rule that caps volatile organic compounds in clear wood coatings such as varnishes at 350 grams per liter. That rule applies to whoever applies the coating, so we check it before the can is opened.
Choosing a Sheen Level
Sheen level is how much light the finish reflects, from matte through satin and semi-gloss to gloss. It changes the look, not the durability.
Matte and satin hide scratches, dust and pet wear best, which is why most homeowners choose them. Gloss shows every mark but suits some formal rooms and older houses where a high shine was original.
Refinishing the Floors Found in Local Houses
Mid-Century Oak Strip in Ranches and Capes
A large share of the houses around Framingham went up between the 1950s and the 1970s, and most of them were floored in narrow red oak strip. Those floors were milled to be sanded again and again, and many have only been refinished once or twice.
They often come to us dull, scratched and ambered rather than damaged. A careful sanding, a few board repairs near exterior doors and a clear or lightly toned finish usually bring them back to the look they had when the house was new.
Oak Uncovered Under Carpet
When carpet comes up, the oak underneath is usually protected but not clean. Carpet pad may have stuck to the finish, and the edges of every room carry tack strip, carpet staples and the holes they leave behind.
We scrape off the pad, pull every staple and fill the tack-strip holes before sanding rather than after. A staple left in the floor tears the sanding belt and cuts a groove into the wood that no finish will hide.
Softwood and Antique Floors
Older houses and mill-village homes sometimes have eastern white pine floors, often in wider boards with gaps and old repairs. Pine is soft, so it is sanded with lighter pressure and a finer grit sequence to avoid dishing the boards.
Many owners want these floors to keep their marks and age rather than look new. We talk through how much character to keep before sanding, because once the patina is sanded off it cannot be put back.
Our Step-by-Step Wood Floor Refinishing Process
Step 1: Inspection and Written Estimate
We measure the rooms, check the wood thickness, identify the species and note repairs, stairs and stain. The estimate lists each item separately.
Step 2: Preparation and Repairs
We protect the house, seal doorways, pull staples and quarter round where needed, and replace damaged boards before sanding begins. In older houses this is also when painted surfaces are checked and the lead-safe setup goes in.
Step 3: Sanding and Color
The floor is sanded through the grit sequence, vacuumed thoroughly, and stained after you approve a sample on your own boards. If you choose a natural floor, the first coat of finish goes straight onto the bare wood instead.
Step 4: Finish Coats and Walkthrough
We apply the finish coats with drying time between them, reinstall trim and walk the floor with you before we leave. You also get written care instructions and the dates when rugs and furniture can safely return.
- 20+ Years on Wood Floors
- Free Written Estimates
- Lead-Safe Work Practices